
Disassembling and Reassembling Your Custom Shade Sail in Spain: A Comprehensive Guide
Custom shade sails have become a popular choice for those looking to add elegance and functionality to their outdoor spaces. These sails not only provide shade and protection against the elements but can also enhance the aesthetics of any outdoor area. However, a common question among homeowners arises: Can a custom shade sail be disassembled and reassembled? The answer is yes, but there are several factors to consider and steps to follow to ensure that the process is carried out correctly.
Step 1: Preparation and Assessment
Before disassembling your custom shade sail, it’s crucial to conduct a thorough assessment of the structure and materials. Ensure you have the right tools on hand, including a sturdy ladder and basic tools like screwdrivers and wrenches. Also, familiarize yourself with the specific mounting system of your shade sail, as this may vary by manufacturer.
Step 2: Disassembly of the Shade Sail
Remove Accessories: Start by removing accessories such as rings, hooks, and ropes that hold the shade sail in place. s you do so, be sure to label each piece to facilitate the reassembly process.
Unscrew Fixtures: Carefully unscrew the fixtures that secure the shade sail to surrounding structures, such as posts or walls. Take your time to avoid damaging the threads.
Take Down the Sail: With the help of another person, carefully take down the shade sail to prevent tears or damage. Fold the sail neatly and store it in a clean, dry place to prevent mold growth or deterioration.
Step 3: Secure Storage
Properly storing the shade sail is crucial to ensure its long-term durability. Use breathable storage bags to prevent moisture accumulation. Additionally, make sure the storage location is protected from the elements and extreme temperature fluctuations.
Step 4: Reassembling the Custom Shade Sail
Cleaning and Assessment: Before reassembling the shade sail, clean it thoroughly to remove accumulated dust and dirt from storage. Also, check for signs of wear or damage that may require repairs before installation.
Installation of Accessories: Start by installing the accessories in their corresponding locations, following the labels you placed during disassembly. Ensure they are secure and well-fastened to prevent future issues.
Mounting the Sail: With the assistance of another person, reassemble the shade sail in its original location. Follow the manufacturer’s instructions for proper installation and ensure that it is stretched well without wrinkles for an elegant appearance and optimal functionality.
Final Adjustments: Once the sail is in place, make final adjustments as needed. This may include tightening ropes or adjusting the sail’s tilt to ensure uniform coverage and an attractive look.
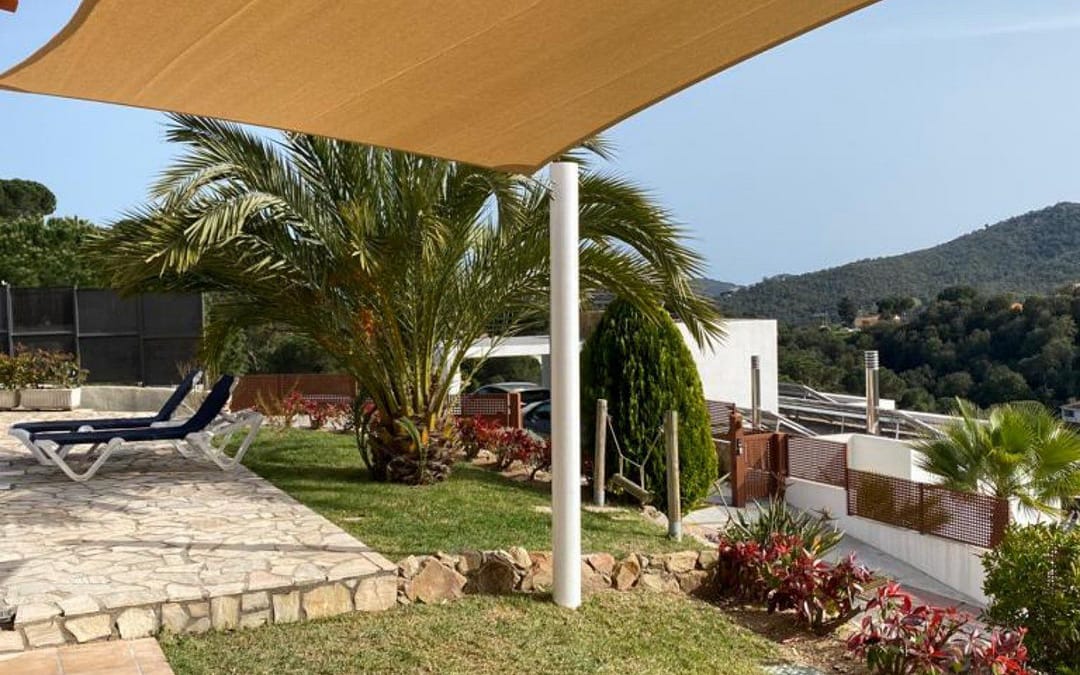
In Spain, where sunny weather is the norm, custom shade sails are especially popular. They not only offer shade and protection against UV rays but also add a touch of Mediterranean style to patios, gardens, and terraces. The ability to disassemble and reassemble these sails is a significant advantage, allowing homeowners to adapt to different seasons or special events.
Remember that if you’re not comfortable disassembling or reassembling your custom shade sail, you can always rely on professionals to do it for you. ny companies in Spain offer installation and disassembly services, ensuring that your shade sail is handled with care and installed correctly on each occasion.
In conclusion, disassembling and reassembling a custom shade sail is a feasible process but requires patience, care, and attention to detail. By following the appropriate steps and taking necessary precautions, you can enjoy the versatility and beauty of your shade sail at different times and locations, adding a touch of style and comfort to your outdoor space in Spain.
0 Comments